Create an Offer Campaign
To create an Offer Campaign:
-
Select Campaigns from the top navigation bar, then select Campaigns > Campaigns from the side navigation menu. The Offer Campaigns screen is displayed.
-
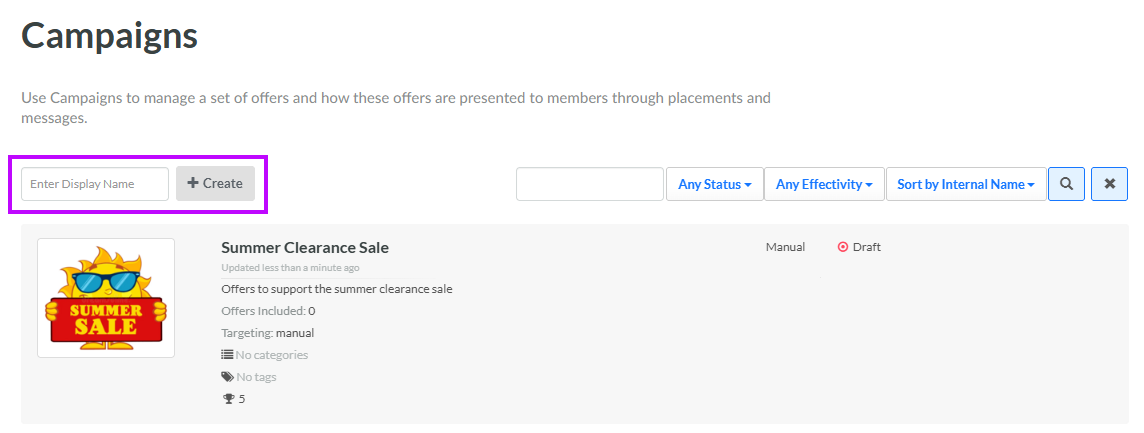
In the Display Name field, enter the name of the new Offer Campaign.
-
Click Create. The Edit <Campaign Name> pop-up window is displayed.
-
The Display Name field is populated with the value you entered above; optionally edit this value.
-
The Internal Name is automatically populated based on the Display Name value. This field is not editable by default. To edit the Internal Name, check Edit Internal Name. A confirmation dialog box is displayed; click Ok. Edit the Internal Name value.
-
In the Rank field, enter a numerical value to establish the priority of this Offer Campaign, as compared to other Offer Campaigns in your account. The default Rank value is 1.
-
Optionally, to assign a thumbnail image to this item, click Choose File. Browse to and select the desired image file, then click Open.
-
Optionally, in the Description field, enter a description of this item.
-
Offer Campaign Categories are used to organize Offer Campaigns, often for controlling what Campaigns get displayed on your website or app. Optionally, to assign this Offer Campaign to one or more Offer Campaign Categories, select them from the Categories drop-down menu. For more information, see Getting Started with Offer Campaign Categories.
-
Tags are used to help organize objects within the platform. Offer Campaigns can be searched by Tag from the Offer Campaigns screen. To reuse an existing Tag, begin typing all or part of the Tag name, and select it. You can also type in a new Tag value.
-
Click Save.
For additional information on how to configure the new Offer Campaign, see the following Help Center articles: